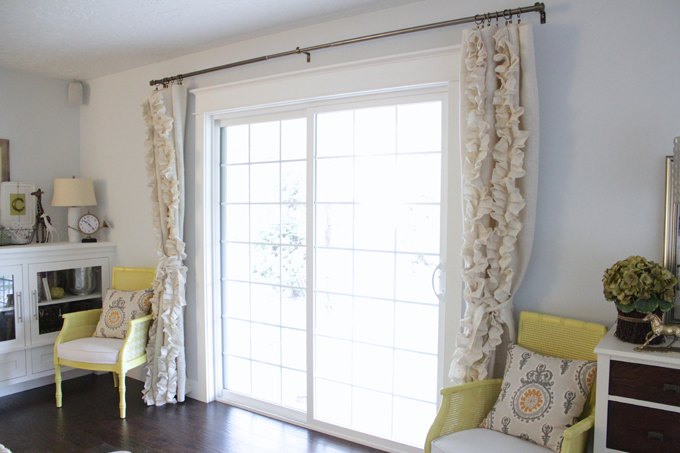
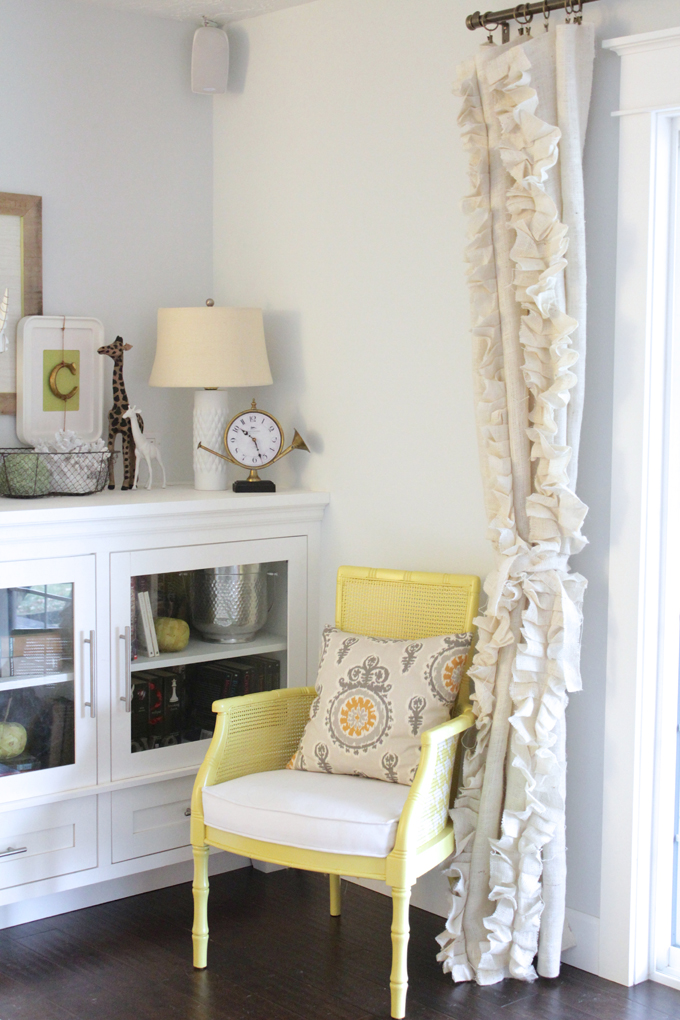
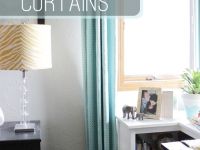
Let me just start by saying, I absolutely love how these curtains came out! I used burlap for my fabric, which ended up working out tremendously, seeing as I needed 11 YARDS and it's a cheap fabric, especially if you have a coupon. I had never used burlap before so it was a little bit of a learning curve on how to work with it.
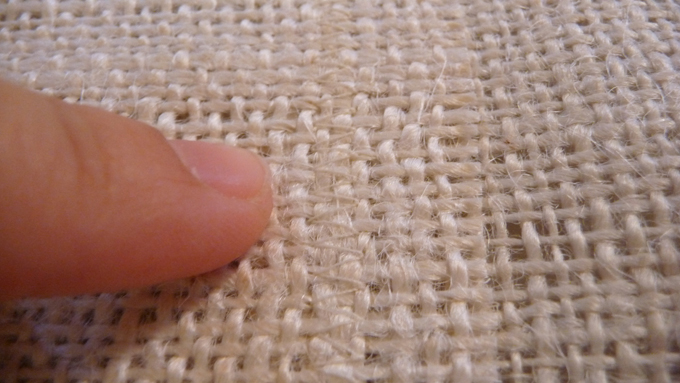
VERY important: you do not want to cut burlap on what you think is square! To get a straigth line with burlap you actually pull a string out from the weaving. When you cut burlap on a square you may think you are cutting straight, but you aren't.
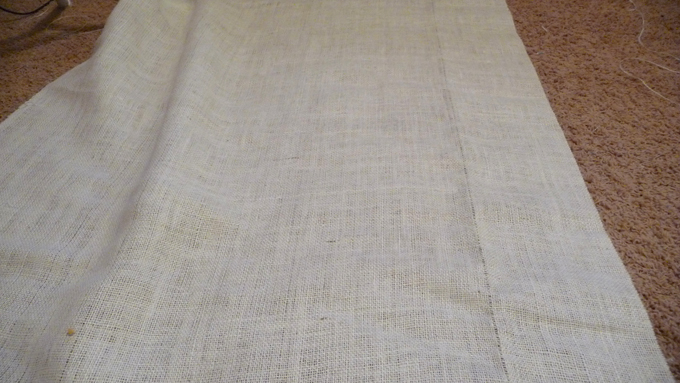
This line looks relatively straigt, but I promise, it's not.

To cut a striaght line on bulap you fist need to pull a thread from the burlap. Start at one end and find the first thread that goes all the way from end to end.
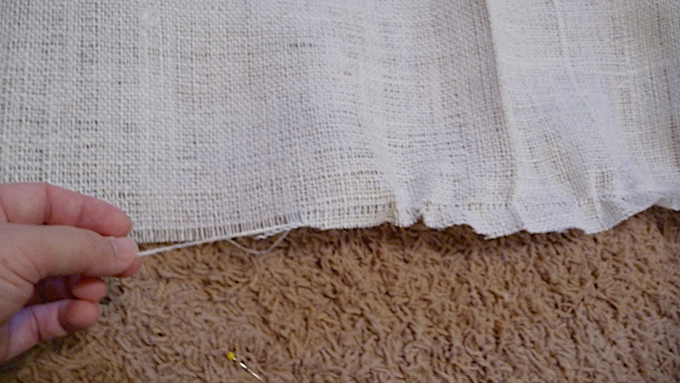
Now that you've found your thread...pull! It's okay if the thread breaks while you are pulling. Just find it again and pull until the entire thread is out.
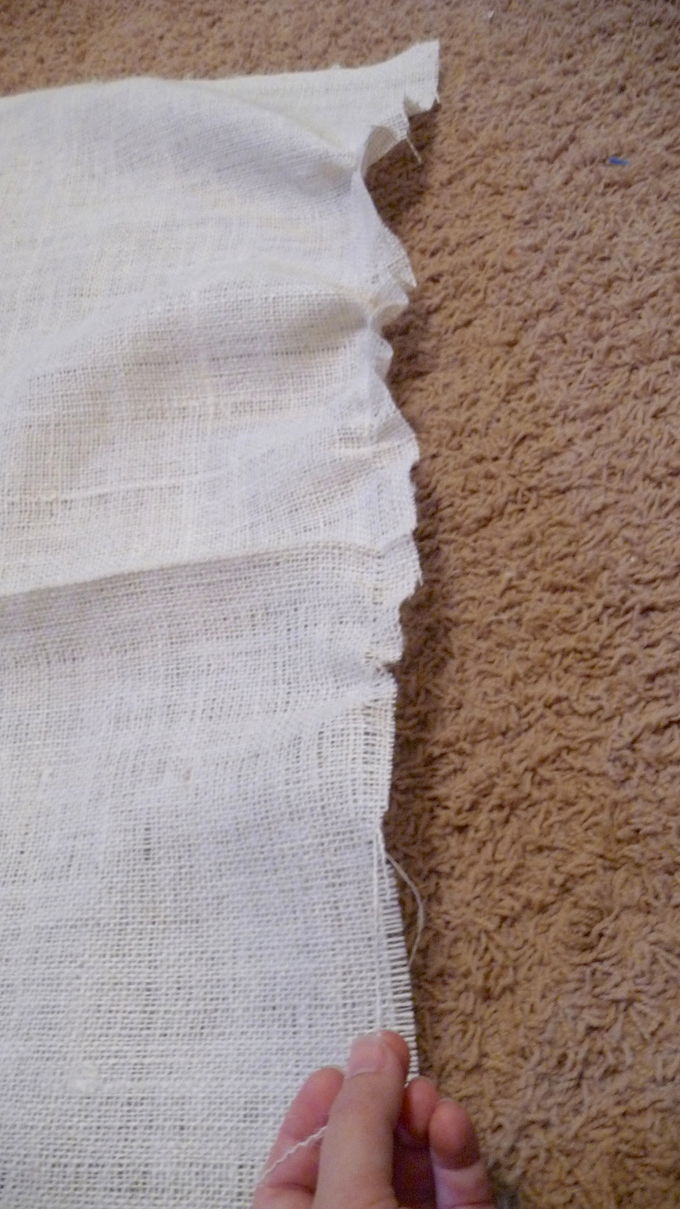
If you have burlap like I had you will need to cut the ends of the thread out of the selvage otherwise it won't pull.
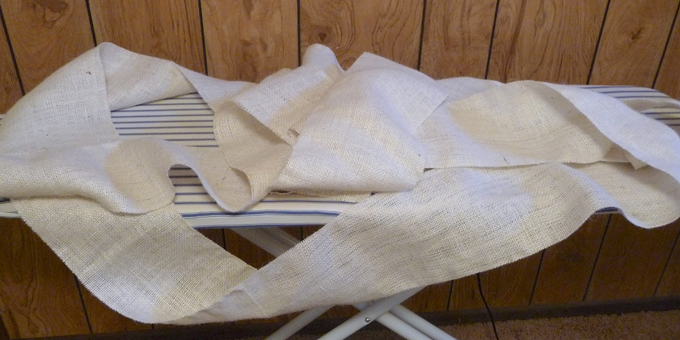
When your thread is all pulled out it'll look something like this.
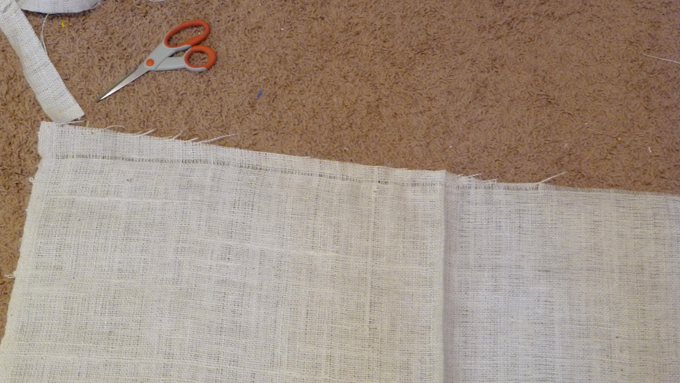
Now you have your straight line to cut. Measure from your first cut the length you need for your project and pull the second thread closest to your measure point.
How to measure curtains:
If you want full cutains when they are closed, then you will want to double the actual width of the space your curtains will take up. For example, if you have a window that is 58" and you want your curtains to extend past the window 12" on each side (which I reccomend, so that when your curtains are open your whole window will be exposed), then you will want to make each finished curtain panel (measured for 2 panels) 82".
Since burlap dosn't really pleat itself tightly when closed I opted for less full. I had a large sliding glass door to cover so I did one and a half widths of fabric. I could have done two full widths together but I needed the seam off to the side so I could hide it with one of the ruffles.
The panels turned out to be 63" each, 126" total. My door is 69" wide and I have a 12" overhang. When my curtains are closed they have a little wave but not much.
As far as height goes, it's more of a personal preference. I wanted to make sure that when my curtains were closed it would hide my moulding but I didn't want it all the way up to the ceiling.
I sewed my panel pieces together, hemmed them a 1/2" all the way around, and then got to work on the ruffles.
To make your ruffles you'll want to cut them about 6-7 inches wide and three times the length of you finished curtains. I hade 45" fabric and it made 7 strips of just under 6.5" inches each. If you are using burlap this is what your first cut line will look like.
With all of your strips cut, it's time to sew them together.
If you are using cotton or other similiar fabric a 1/4 inch seam would be fine. With burlap, I overlapped it about a half inch and gave it a zigzag stitch. Since burlap is such a wide weave it needs a stitch that will grab more, hence the zigzag.
You'll have a nice loooong strip of fabric to make your pleats with.
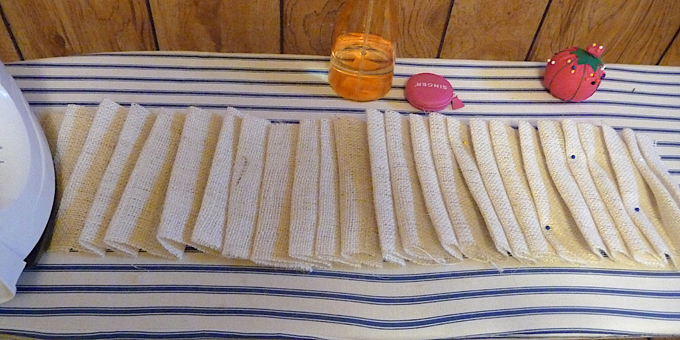
You are ready for pleats!! i say it with gusto but once you start making them, you'll be singing a song of a different tune. It takes FOREVER to make these pleats. I reccomend putting on a book on cd or something of the sort to keep you entertained.
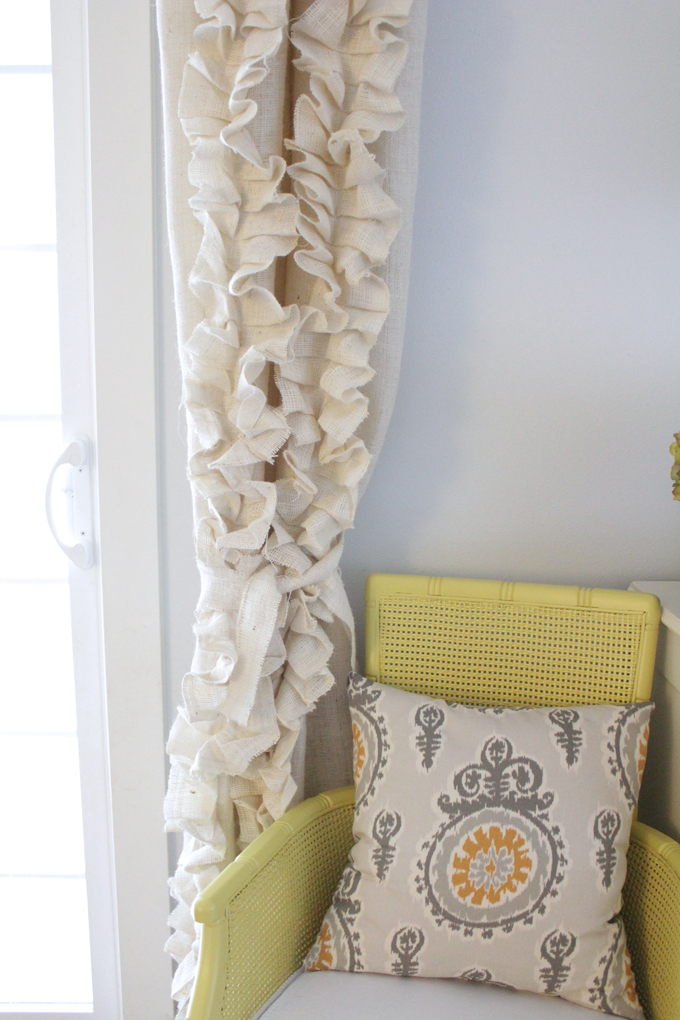
When making your pleats they do NOT need to be perfect. Since they are supposed to look messy there is no need to look perfect.
When your pleats are finally all done you will want to baste them to make them easier to handle.
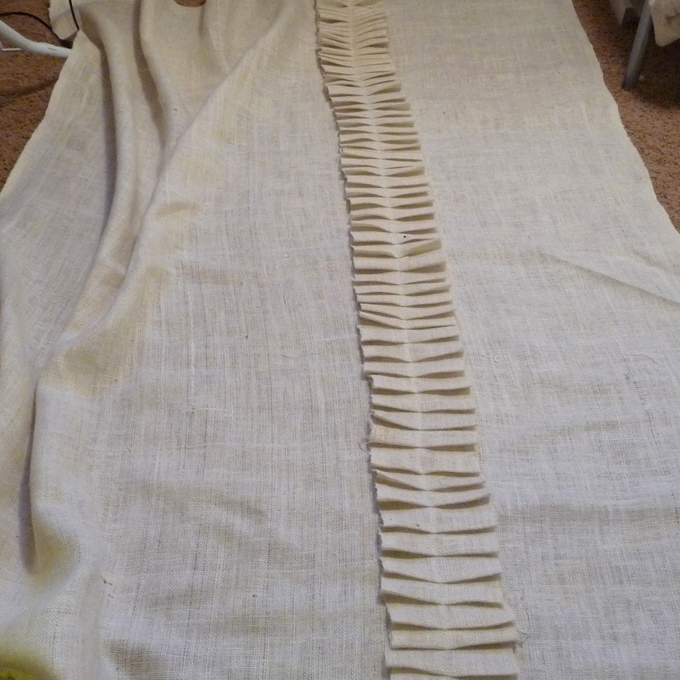
Line them up on your panels to decide where you want them to be.
Attaching the pleats is a little difficult. There will be a lot of fabric to handle. Just take it slow and make sure your ruffles are pinned on and stay in place.
I didn't take out the basting since I sewed the ruffles onto the panels down the center right over the basting.
The last step is to make your pleats messy. If you are using burlap, turn you iron up as high as it will go and be sure to have the steam ready (adjust temp. as necessary for whatever fabric you are using). I even went as far as spraying my pleats with water just before ironing them. Bunch up the pleats with your hand and give them a good hold with the iron.
And that's it! All done! Time to hang 'em up! Our curtain rod is from Amazona and can be found
here
.
My inspiration for these curtains came from
Besserina and her tutorial can be found
here.
If you have the patience to make these, they are totally worth it! Again, I just love how they turned out, but I'm not sure I would ever do them again. It's kind of one of those, I did it and I've satisfied my need to do it, so I won't ever do it again, type things. Do you ever have those kinds of projects?
Linked with:


Comments
Popping over from the link-up at Liz Marie. These turned out so cute! Love what I can see of the rest of the room too :) I'm the same way with these kind of projects...I'm like a serial crafter...I love to try new things, but sometimes once is enough!
Elisabeth@Simply Parkers
Gorgeous! I would never have thought to use burlap. Maybe one day I'll try it out... :)
Super adorable! I love them!!
Hey, these look fantastic! Can you tell me the final cost? I'm on a VERY tight budget! :)
Hi Hailey,
If you have a 40% off coupon from Joanns, you can make these curtains for about $30, including your thread. You could also wait for a 50% coupon and save even more! The rod is from Amazon and comes in at $33.53. The drapery rings can be found at Target for $6.29. The rings come 7 in a pack and I bought two. So, total cost, for everything, was about $80. I hope that helps!
These curtains look like so much fun. Great tutorial and I love how they look in your room! Great texture!!
Stunning! Thanks for the tutorial!
I love this look! Did you pre-shrink your burlap?
Thank Megan! No, I didn't pre-shrink and haven't had any problems so far!
Valarie - I loooove these curtains but have never even used a Sewing machine before. Would you ever consider making some to sell? If so, I am willing to pay for materials and time!
Hi Andrea...I'm so glad you like the curtains! I do not make these to sell, but here are two Etsy shops (Shop 1, Shop 2) that make the same style of curtain. I hope that helps! Thanks for visiting!
These are absolutely beautiful! Great job!! I've been trying to decide on a style of curtains for my burlap, this is it. I actually saw the ones by Besserina on Pinterest, but I'm not able to see her blog. Just as I was about to 'wing it' I stumbled upon your blog by complete accident! I'm so glad I did, I'll link you in my post:) thank you so much for sharing, I was going to make strips and gather them but I like your pleats technique (looks much simpler to sew on rather than trying to keep the ruffles under control). I can't wait to start, my burlap is in the wash now:) I love your chairs too:)
www.itssewon.com
Hey--I definitely want to try these! I have been looking for a way to use burlap and this is AWESOME! I just needed a little more info for the pleats. It looks like you have made folds of maybe 1" or so? Would that be about right?
Hi Jonikka,
My pleats are varried in their width. I'd say they range between 1 and 2 inches. They are meant to look pretty messy so I wasn't too focused on them being equal.
These are fantastic and will fit in perfectly with the redecorating I'm doing in my Master Bed & Bath! I bet this would be fairly easy to change around a bit to make shower curtains! Either as a regular, full size one (of course, use a liner and I would even tack on a light fabric type of water resistant curtain/liner to the back. Or, you could could use the curtains, like..curtains a panel on each side pulled back with a tie-back, and a nice water resistant fabric curtain/liner behind it.
How many ruffle strips on each panel. It looks like two.
Yep! Two per panel. One was placed to hide a seam and the other mirrored it.
Love how your curtains turned out-so very cute! Popping in from Pinterest where I found your tutorial, and now following along with the blog. Thanks for sharing.